

InDesign and images
InDesign is not an image editor, but you can crop, rotate and adjust transparency, blend modes and many other things in InDesign. For editing the image contents, you need an external editor like Photoshop.
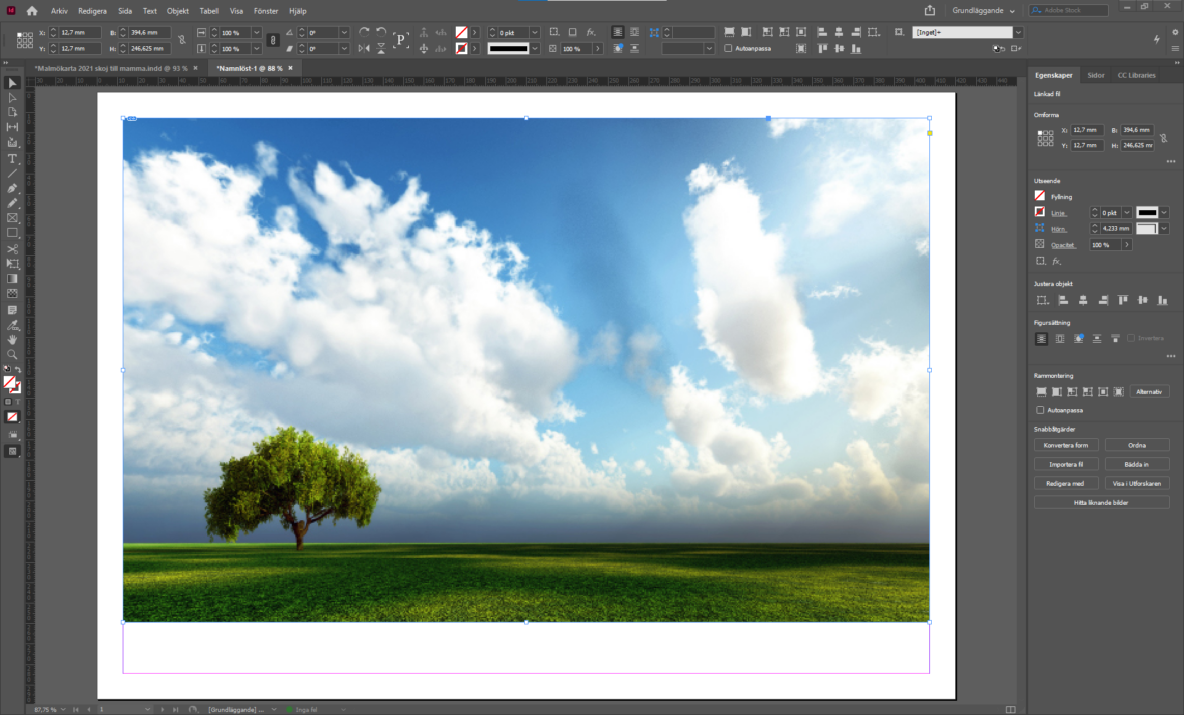
Keep in mind that InDesign uses a frame around all images, and there are two ways of manipulating your image: either the frame (blue) or the contents (orange).
Images in InDesign are per default linked in, i e they are not copied into the document, but rather InDesign creates a preview of the image inside the document, but in order to render the full resolution image, it reads from the original image file. Read more about linking below.
- You can mount images in many ways:
- The safest is to use the menu command File -> Place.
- You can also drag and drop images onto InDesign, but it’s more risky.
- You can also place an image into a selected shape, like an oval, a polygon etc.
- Always drag out the image, i e don’t just click, it will give unpredictable results.
- Move an image with the black arrow, but don’t click in the round circle, then you move the
- Scale an image by using Cmd/Ctrl+Shift and pull a handle. (Cmd/ctrl is for the content, shift is for proportional)
- Crop the image by making the frame smaller, i e pull the handles without holding any keys.
- If you’ve cropped the image, the contents is not deleted, just hidden. You can move the image inside the frame by clicking the round circle in the middle and moving around. The selection will be orange.
- Copy an image by using the black arrow, holding alt on your keyboard and dragging and releasing.
- Fitting is an important term in InDesign. If you’ve placed an image that doesn’t fill the entire frame (whenever there’s white around), you can right click the image and in the contextual menu choose Fitting -> Fill frame proportionally. You can also find these features in the control field.
- Avoid broken links to images by placing the image file on in a file space everyone has access to, or if you work locally, make sure you store your image files in a good place, i e not in “Downloaded files” or on your Desktop, where it’s not unlikely you will move or delete the files to clear clutter.
Advanced/pro tips
- Mounting several images: After going to File -> Place, you can ctrl/shift-click several images. These can then be mounted one by one, or if you press the arrow keys on the keyboard while dragging out a rectangle, you will create columns and rows.
- You can use the Gap tool (U) to easily adjust the layout of several images.
- You can place image into any shape you like. First create the form, then keep it selected, and go to File -> Place. You can even mount images into text, if you’ve first created Text outlines.
- You can change the shape of the picture frame by selecting the image, go to the menu Object -> Convert shape -> Oval.
- Move your image using the keyboard arrow keys. This allows for exact incremental movements in one direction at a time. Hold shift to move faster.
- Text wrapping is a powerful feature that allows text to flow around images and other shapes in InDesign. You find it in the panels.
Picture collage created with Gap tool:
